There are a many reasons to split your app in modules or projects1. For a start, it’s mandatory to deploy an Instant App. It’s also a good way to speed up your incremental builds thanks to compilation avoidance.
But, no matter what your reasons are, at some point, you will end up with a bunch of folders sorted alphabetically at the root of your project, and that will get confusing.
Thankfully, Gradle allows us to organize our modules in folders.
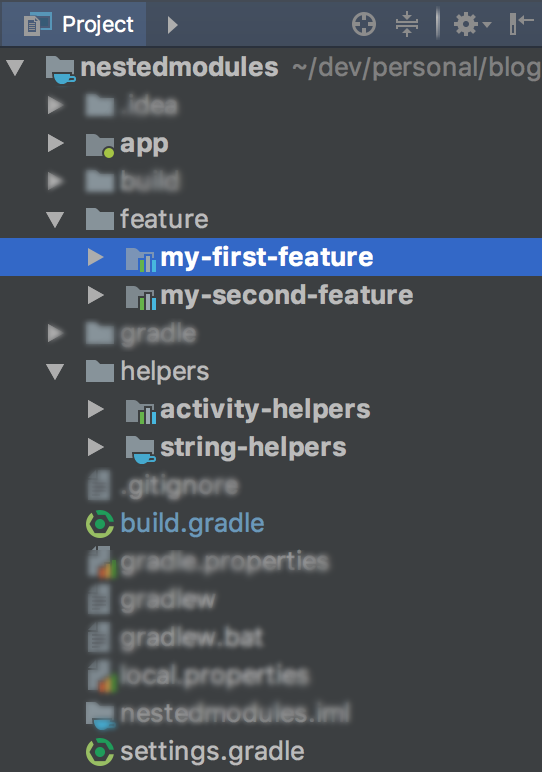
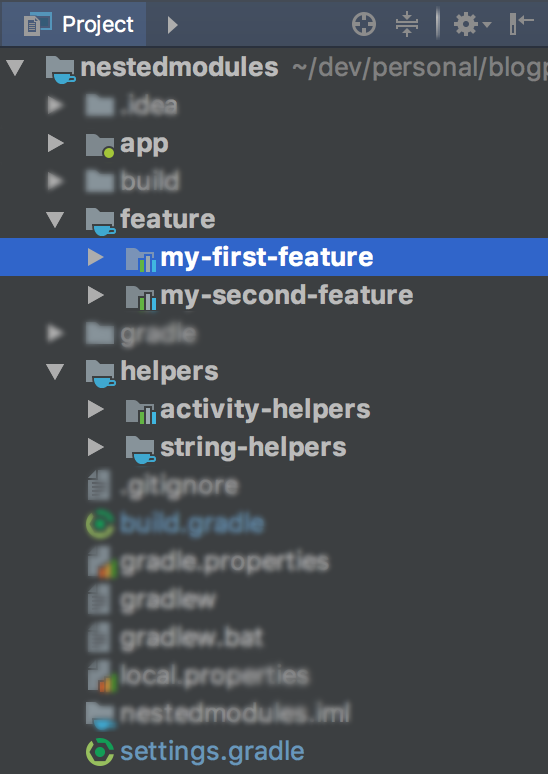
In this post, we will start from a flat structure:

And migrate it to a nested structure:

Step 1: Move the modules to a subfolder
This is the most straightforward part: you are creating good old folders on your file system.
In this example, we will move our features to a folder named feature and our helpers to a folder named helpers.
Much like packages names, the trick here is to create a hierarchy that makes sense for your project.
Note that the project won’t compile just yet. That’s coming next.
Step 2: Update the project references
Gradle needs to be told the full path to a module.
So you will need to update it in your settings.gradle file.
Since we moved our features to the feature/ folder, the new path for :my-first-feature would be :feature:my-first-feature. Basically, it’s the same file path where the path separator is a colon instead of a forward/backward slash.
// settings.gradle
include ':app',
    ':feature:my-first-feature',
    ':feature:my-second-feature',
    ':helpers:string-helpers',
    ':helpers:activity-helpers'
You will also need to update your build.gradle files wherever they are referencing a module that you just moved.
// app/build.gradle
// ...
dependencies {
    implementation project(":feature:my-first-feature")
    implementation project(":feature:my-second-feature")
    implementation project(":helpers:activity-helpers")
    implementation project(":helpers:string-helpers")
    // ...
}
The final result
Perform a Gradle Sync from Android Studio and you will be ready to go.
If you are executing a command on a nested module from the terminal, you will need to specify the module’s full path:
./gradlew :feature:my-first-feature:check
Caveats
The Android View
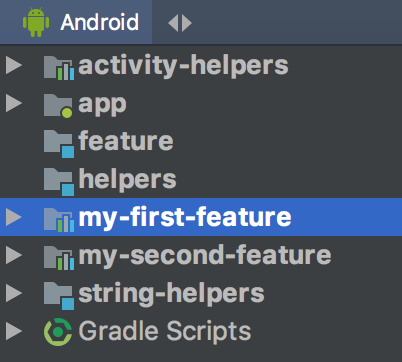
The hierarchy is only visible from the project view in Android Studio .
The ‘Android’ view will flatten the hierarchy.
IML files
The IDE might get confused the first time you move your folders.
If you see that Android Studio is not able to resync the project, delete all of the *.iml files in the project and resync.
The source code for this post is available here
-
You will hear about multi-module projects and multi-project builds… They both represent the exact same thing but the naming varies between the IDE and the build system. What Android Studio and Intellij call a module, Gradle calls a project. So everything declared in your settings.gradle refers to a Gradle project. This is also the reason why we write
implementation project(':helper')when we want to import another module. ↩